Sales and Services on Industrial and Domestic
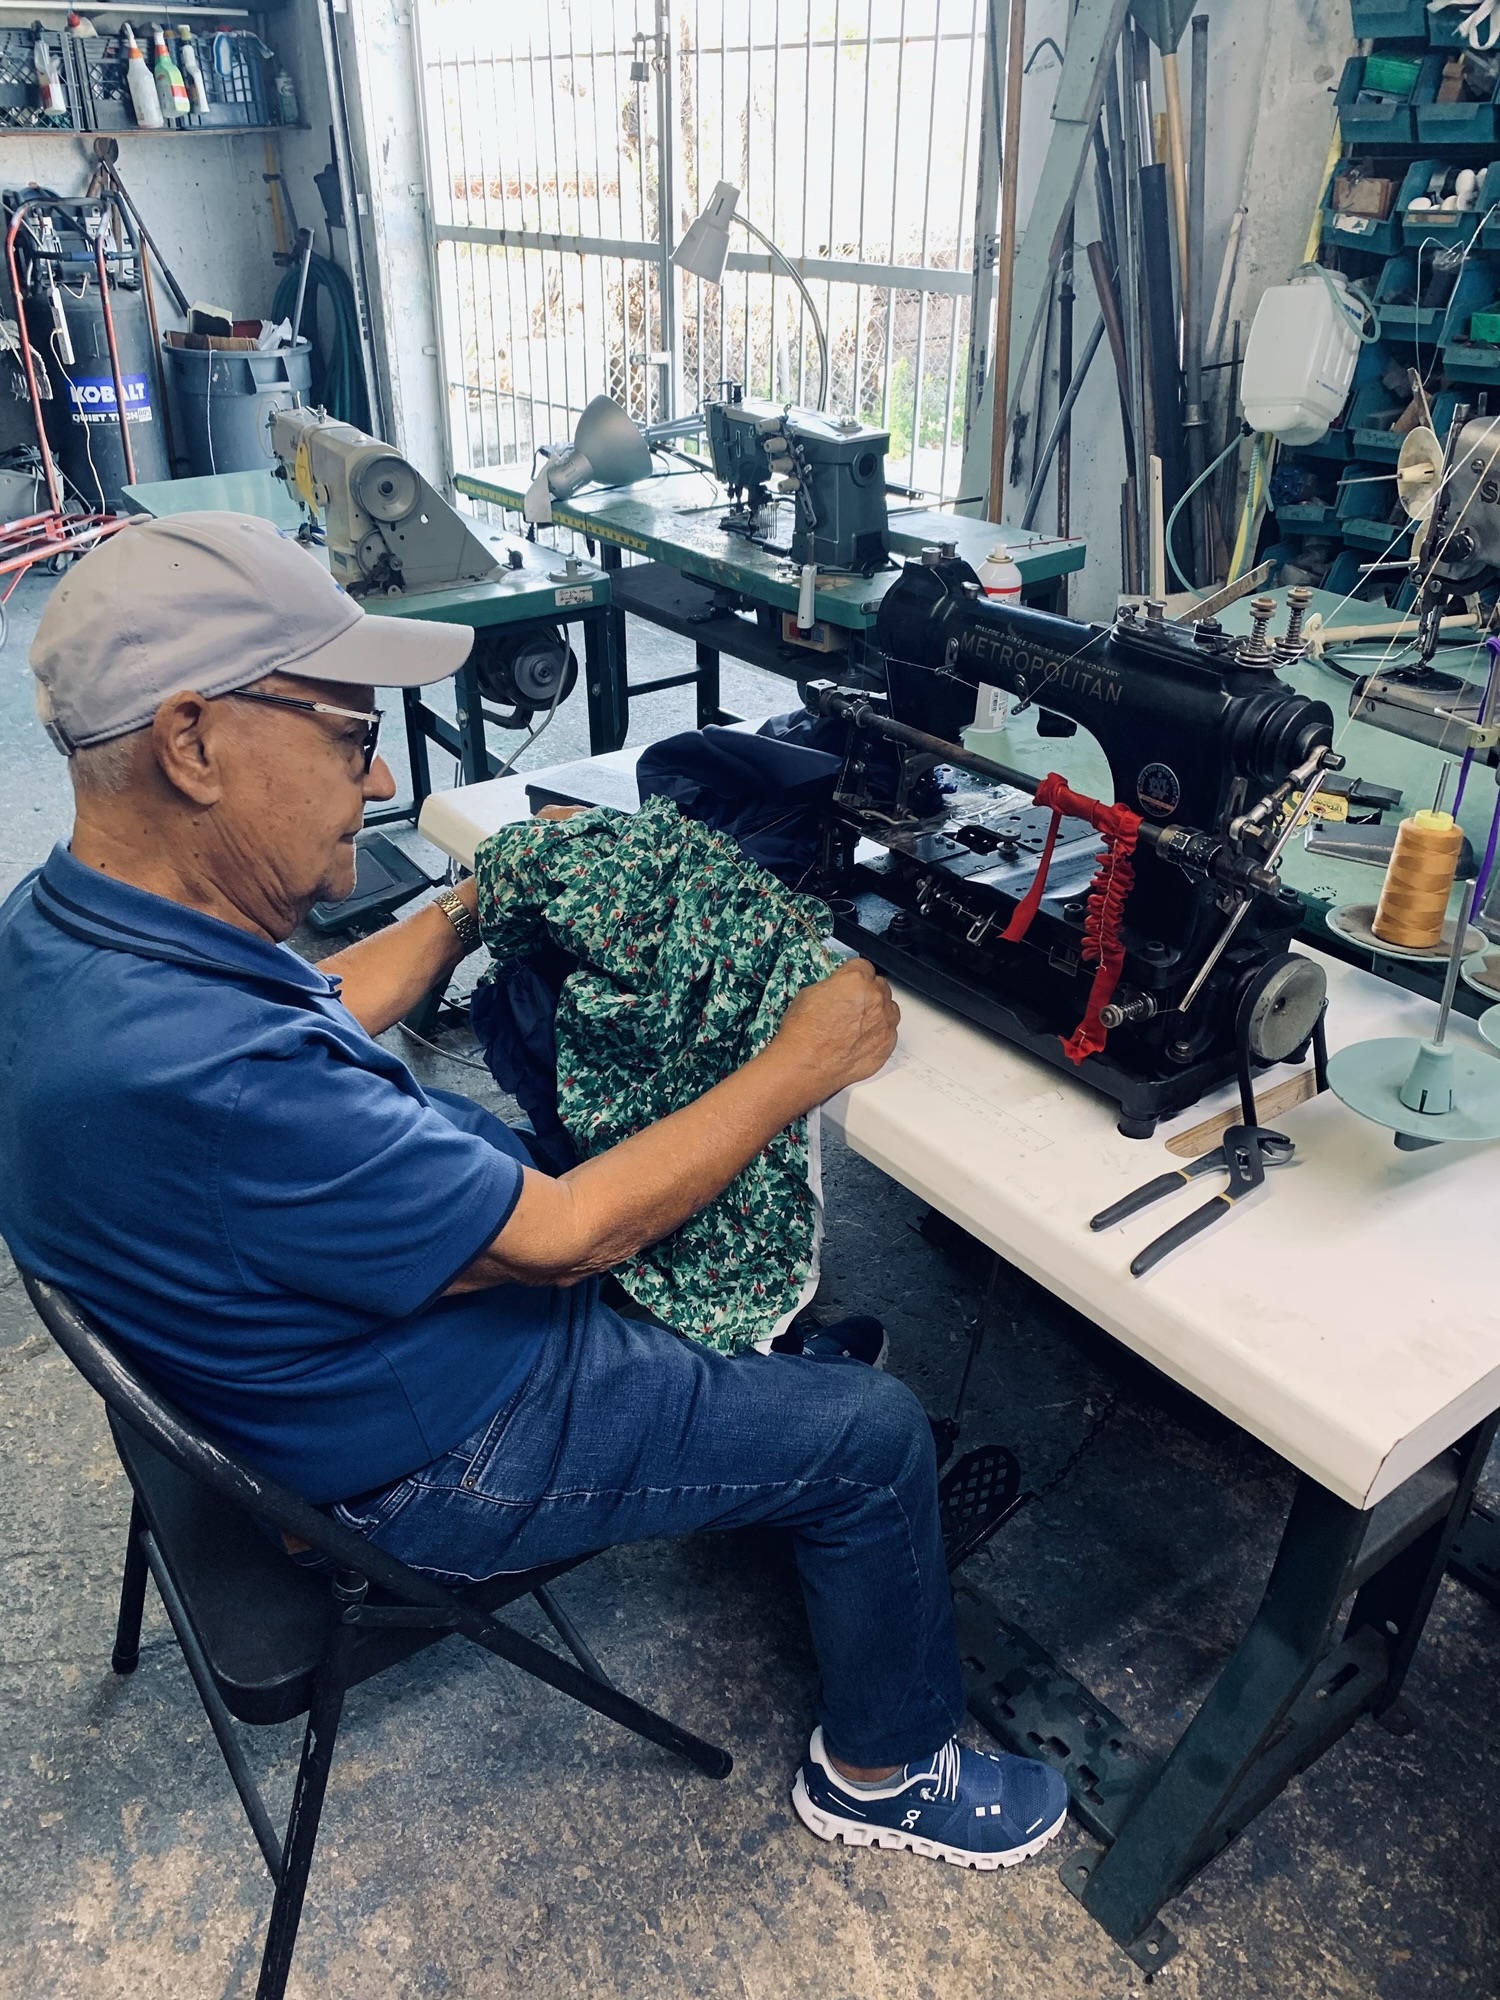
Looking for reliable sewing machine repairs? We specialize in industrial and domestic machines, with a focus on Pfaff walking foot models, Brother, and Bernina. Our services include expert motor and cutter repairs, as well as full machine restoration and reconditioning. Contact us for professional service that brings your machines back to life.
A Few Quick Tips for Clarity:
Restoration vs. Repair: Since you offer both, you might want to specify if restoration includes cosmetic work (paint/polishing) or strictly mechanical overhauls to help customers choose the right service.
Component Replacements: If you have a standard “Shop Rate” or “Diagnostic Fee,” mentioning it alongside the “Base Price” note can help manage customer expectations upfront.
Pfaff 1245 Walking Foot

The Pfaff 1245 is a legendary heavy-duty industrial machine. Because it is a large-hook vertical axis machine with a triple-feed (walking foot) system, the “tune-up” is significantly more involved than a standard machine. You aren’t just timing a hook; you are synchronizing three different feeding movements.
Here is the technical calibration checklist for the 1245:
1. The Triple-Feed Synchronization
This is the “heart” of the machine. The feed dog, the needle, and the vibrating presser foot must move in perfect unison.
- Feed Timing: Set the stitch length to maximum. As the needle descends and its point reaches the level of the needle plate, the feed dog and the needle should begin their backward movement simultaneously.
- Vertical Lift (Walking Height): The standard factory setting is that the inner and outer feet should lift to the same height. You can adjust this using the rear wing nut or the internal eccentric. If one foot is “dragging,” you’ll get uneven ply feeding.
- Presser Foot Clearance: When the feet are at their highest point, the clearance should be approximately 14mm (depending on the specific subclass).
2. Hook Timing & Clearance
The 1245 uses a large vertical-axis rotary hook.
- Timing Point: Set the machine to a “0” stitch length. Bring the needle bar to its lowest point, then let it rise 2.0mm (the “timing stroke”). At this point, the tip of the hook should be exactly at the center line of the needle.
- Hook-to-Needle Gap: The clearance should be a “hair’s breadth”—roughly 0.1mm. If the gap is too large, the 1245 will skip stitches on heavy nylon or bonded thread.
- Needle Bar Height: When the hook tip is at the center of the needle, the eye of the needle should be about 0.8mm to 1.2mm below the hook tip.
3. The Safety Clutch
The Pfaff 1245 is equipped with a safety clutch to protect the hook in case of a thread jam.
- Resetting: If the machine “locks up” and the needle won’t move, the clutch has likely tripped. Press the plunger button on the bed of the machine and rotate the handwheel until you hear a “click” to re-engage.
- Tension: During a tune-up, ensure the clutch isn’t too loose (tripping during heavy leather sewing) or too tight (failing to trip during a jam).
4. Bobbin Case & Opener
- The “Opener” (Tab): This is a critical adjustment on industrial machines. The tab should pull the bobbin case back just enough to let the thick thread pass through the “gate.” If it’s not timed right, you’ll hear a “clunking” sound and get snapped threads.
- Tension: Since this machine often runs Size 69 to 138 thread, ensure the bobbin tension spring is clean of wax buildup from bonded threads.
5. Lubrication Points
The 1245 has several “hidden” oiling points:
- The Hook Race: Needs a drop of oil every few hours of operation.
- The Top Wick: Check the felt wicks under the top cover. If they are bone dry, the main shaft bushings will overheat.
- The Knee Lifter: Ensure the linkage under the table is greased and moves freely without binding.
Technician Tip:
Check the needle plate and feed dogs for “burrs” from previous needle strikes. Because this machine is used for leather and heavy upholstery, even a tiny nick can snag the thread and cause “birdnesting” on the underside of the material.

Precision Button Sew Machine Repair & Restoration Button sew machines are the workhorses of any production line, and we understand the precision required to keep them running without skipping a stitch. We provide expert repair and full restoration for both mechanical and electronic button sewers.
Our process includes:
- Timing & Synchronization: Fine-tuning the needle-to-looper timing to ensure perfect stitch formation on various button thicknesses.
- Clamp & Feed Calibration: Adjusting the clamping pressure and feed motion to prevent fabric shifting and ensure consistent button placement.
- Full Reconditioning: For older or high-mileage units, we perform deep-cleans, strip away oxidized grease, and replace worn drive belts or cams to return the machine to factory-spec performance.
- Component Overhaul: Expert diagnostics and repair for integrated cutters and motor drive systems.

Embroidery Unit Calibration
The Designer Diamond often prompts for this on startup, but a manual “zeroing” is part of a deep tune-up:
- Hoop Sensor Calibration: Ensuring the machine correctly identifies the hoop size (especially the larger Majestic hoops) so it doesn’t strike the frame.
- Arm Positioning: Checking that the X and Y axes move smoothly and that the “park” position is physically accurate.
- Belt Tension: Inspecting the small drive belts inside the embroidery arm; if they have any slack, the registration (alignment) of your embroidery designs will shift.
2. Mechanical “Tune-Up” Points
- Hook Timing & Clearance: This model uses a jam-proof rotary hook. You need to check the needle-to-hook gap. If it’s too wide, you’ll get skipped stitches on knits; too tight, and you’ll break needles.
- Feed Dog Alignment: Ensure the feed dogs are level and centered in the needle plate slots. Inconsistent feeding on a Diamond often points to lint build-up under the plate or a “step motor” that needs a reset.
- Automatic Thread Cutter: These are notorious for gathering “birds’ nests” of lint. The knife needs to be checked for sharpness, and the “home” position of the cutter motor should be verified.

Needle Bar Height & Timing
- Needle Bar Height: At the Bottom Dead Center (BDC), the standard spec for many Brother domestic models is that the needle bar thread guide or stop pin sits about 16mm to 19mm above the needle plate (depending on the specific model). If it’s too low, you’ll hit the bobbin case; too high, and you’ll get skipped stitches.
- Hook Timing: When the needle rises roughly 1.6mm to 2.0mm from its lowest point, the hook point should be exactly behind the center line of the needle, approximately 0.1mm to 0.5mm above the eye.
- Needle-to-Hook Clearance: On Innov-is machines, keep this gap tight—around 0.05mm to 0.1mm. If the needle is being pushed by the hook, or is too far away, you will have constant “shredding” issues.
2. Electronic & Pulse Motor Calibration
- Needle Position (Center/Left/Right): Ensure the needle is perfectly centered in the needle plate hole when in the center-straight-stitch position. If it’s off, the zigzag width will be uneven.
- Step Motor Reset: If the machine has been “crashed” (needle hit the plate), the step motors for the needle swing and feed dogs may need a reset via the technician service menu to re-zero their home positions.
- Touchscreen Calibration: If the user is struggling to select stitches, you can usually access a calibration screen by holding the “Presser Foot Lifter” button or a specific key combination (varies by model) while powering on.
3. The “Silent” Feed System
- Box Feed Mechanism: Higher-end Innov-is models use a “Box Feed” rather than an elliptical one. Check that the feed dogs stay level throughout their entire travel.
- Feed Dog Height: At their highest point, the teeth should be roughly 0.9mm to 1.1mm above the needle plate.
- Automatic Fabric Sensor (AFS): Check the sensor that detects fabric thickness. If this is dusty or out of alignment, the presser foot pressure won’t adjust correctly, causing puckering or slipping.
4. Maintenance & Cleaning (Technician Level)
- Optical Sensors: Unlike older mechanical machines, Innov-is machines are packed with optical sensors (bobbin thread, upper thread, and hoop detection). Use a soft brush or low-pressure air to clean these; do not use heavy lubricants near them.
- Thread Cutter Maintenance: The moving knife and fixed knife often accumulate adhesive residue from embroidery stabilizers. Clean these with alcohol and check for nicks. If the “tail” left after cutting is too short, the thread will pull out of the needle on the next start.
- Bobbin Case Tension: These are set very specifically at the factory (often around 20g to 25g of pull). If the user has adjusted the “green” screw on the bobbin case, it may need to be reset using a tension gauge.
Quick Technician Tip:
If you are working on the embroidery-capable Innov-is models, always check the X/Y carriage play. If the belts have stretched even a fraction of a millimeter, circles will come out as ovals. Tighten the drive belts and check the carriage rails for any old, sticky grease.

The Singer S0105 is a 4-thread overlocker that relies heavily on the synchronization between the upper and lower loopers. Unlike a standard sewing machine, a “tune-up” here is mostly about timing, clearance, and tension balance.
Here is the technical checklist for calibrating and tuning up the S0105:
1. Looper Timing & Synchronization
- Lower Looper Timing: When the needle bar is at its lowest point and begins to rise, the tip of the lower looper should meet the needle roughly 1.5mm to 2.0mm above the eye.
- Upper & Lower Looper “Meeting”: As they cross, the upper looper must pass behind the lower looper as closely as possible without touching. If there is a gap, you’ll get skipped stitches; if they hit, you’ll break the loopers.
- Needle Guard Adjustment: Check the small metal guards that prevent the needles from flexing into the loopers. They should be set so they almost touch the needle (about 0.05mm clearance) when the needle is at its lowest point.
2. Feed System & Differential Feed
- Feed Dog Height: On this model, the feed dogs should sit roughly 1.0mm above the needle plate at their highest point.
- Differential Calibration: Ensure the front and rear feed dogs are moving in sync when the differential dial is set to 1.0. If the fabric is “waving” or “puckering” even at the neutral setting, the linkage underneath may need a slight adjustment to re-center the stroke.
3. Cutting System (The Knife)
- Knife Sharpness: The S0105 uses a movable upper knife. If the fabric is “chewing” rather than cutting cleanly, check for nicks.
- Knife Timing: At the lowest point of the needle bar, the upper knife should overlap the lower knife by about 0.5mm to 1.0mm.
- Width Adjustment: Ensure the lower knife moves smoothly when the cutting width dial is turned. Lint often gets trapped in the slide mechanism here, preventing the knife from seating correctly.
4. Tension & Thread Path
- Tension Disc Cleaning: Because overlockers run at high speeds, lint and “thread dust” build up quickly between the tension discs. Run a piece of unthreaded muslin through the closed discs to “floss” out any debris.
- Burr Check: Inspect the thread guides and looper eyes for burrs. Even a tiny scratch can cause the thread to snap at high speeds.
5. Cleaning & Lubrication
- The “Lint Trap”: Remove the side cover and the needle plate. Overlockers are “lint magnets.” Use a brush or vacuum—avoid canned air, which can push lint deeper into the main bushings.
- Lubrication Points: Use high-quality white sewing machine oil on the needle bar, the looper drive slide, and the main eccentric cam. Avoid over-oiling, as the S0105 is a compact machine and excess oil will quickly attract more lint.
Technician Tip for the S0105:
If the customer complains of broken needles, check the “Looping Over” (where the thread wraps the stitch finger). If the stitch finger on the needle plate is bent or burred, it will snag the thread, pull the needle out of alignment, and cause it to strike the looper.


When you choose DH Sewing Machines, you’re not just buying a machine; you’re investing in decades of expertise within the industrial sewing machine industry. Our extensive experience ensures we offer only high-quality, reliable equipment tailored to your specific needs. Furthermore, unlike many retailers, DH Sewing Machines employs its own team of skilled mechanics. This crucial advantage means that the machines we sell are backed by readily available, in-house service and support. Our mechanics possess the specialized knowledge to maintain, repair, and optimize your investment, minimizing downtime and maximizing productivity. Consequently, purchasing from DH Sewing Machines provides not only a top-tier machine but also the invaluable assurance of expert support and readily accessible service, giving you peace of mind and a long-term partnership.


All estimates at our shop are $45 dollars unless stated otherwise.
